


Username: Email address
Password : Password for your Email
Go to ‘Log In’
Zimbra User Manual
1. Login
To login, please click here and use your email address and password to authenticate to the system.
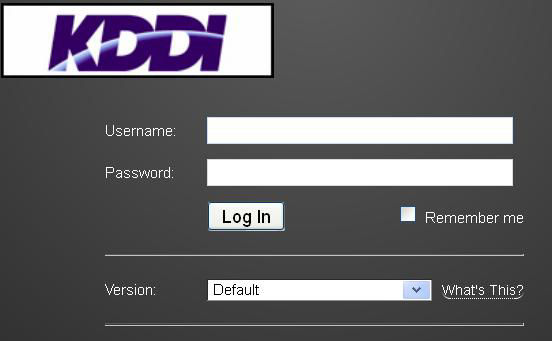
You can choose one of three versions; “Advanced (Ajax)”, “Standard (HTML)” and “Mobile”.
* If you want to use a download friendly, light version, please use “Standard (HTML)”.
* “Advanced (Ajax)” has been set as “Default”. You can change the default setting under “Option”.
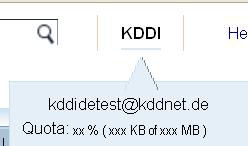
2. Account Information
To show your account information, click your account name on the top right of the display.
3. E Mail
1) Mail
To show an overview of your folders and mails by click “Mail” icon in Navigation Pane.
Left side in display shows Folders, right side shows Mails.
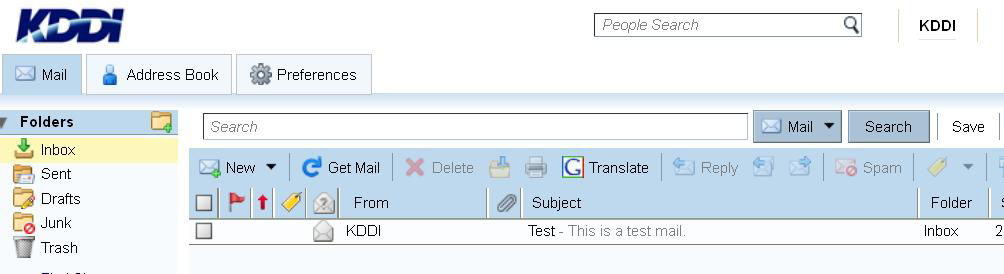
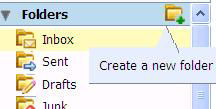
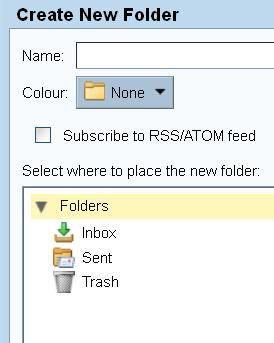
2) Folder
To create new folder, click on “Create” and choose New Folder.
3) View
The inspection window is displayed in lower right corner and the content of Mail can be read when you click on mail.
With double-click on mail, the content is shown in the same window.
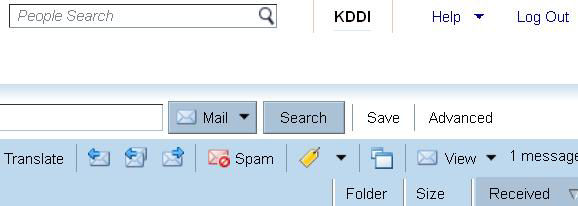
4) Create new Mail
To write an email use the icon “New”.
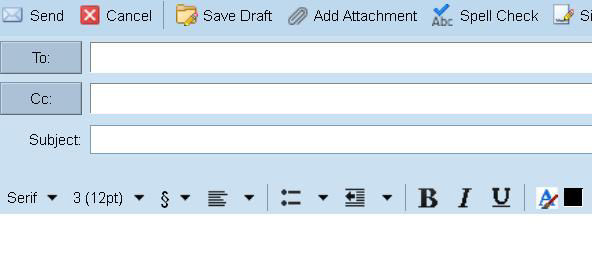
You will find that it is similar to what you know when using a normal mail client (ie. Outlook). Just write your mail and subject, add some email addresses.
You can either write Email addresses manually or use the Address Book.
To use Address Book, just click “To” and enter one part of Email address and click “Search”. Select an Email address, which you need and click “To”, “Cc” or “Bcc” to move it into the right box and then click “OK”.
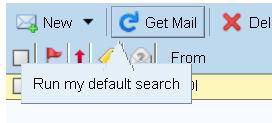
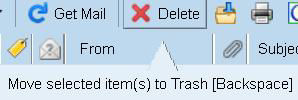
5) Receive new Mail
To receive new Email just click “Get Mail”.
6) Delete Mail
Choose Mail and click “Delete”, selected Mail moves to “TrashFolder”, and remove Mail from “Trash Folder”.
* Please note, that mails are completely deleted from the server, if you delete mails from “Trash Folder”.
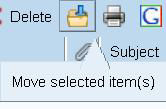
7) Move Mail
Choose Mail and click “Move”, you can move selected Mail to another Folder.
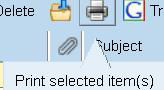
8) Print Mail
Click this icon “Print”.
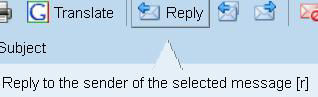
9) Reply Mail
Choose Mail and click “Reply”.
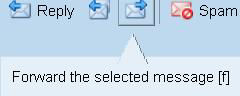
10) Forward Mail
Choose Mail and click “Forward”.
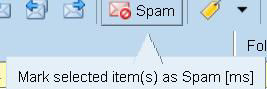
11) Move to Spam Mail Folder
Choose Mail and click “Spam”.
To back mail from Spam Mail Folder to Inbox, choose mail and click “Not Spam”.
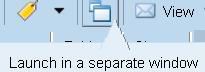
12) Launch new window
Choose Mail and click “Launch”.
4. Address Book
1) Show Address Book
Click icon “Address Book” in Navigation Pane, you go to Address Book.
2) Create new Contact
Click icon “New”.
Write down what you need and click “Save”.
5. Edit your Option
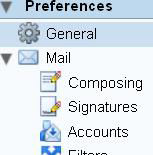
1) Show Option
To open Option, click icon “Preferences” in Navigation Pane.
Left side in display shows Options.
2) Change of Default version
You can change the default setting of user interface from “Advanced (Ajax) ” to “Standard (HTML)” in “Login Options” of “General”.
3) Change of Language
You can also change the language in “Language”.
4) Change Password
You can change your Log in Password in “Login Options” of “General”.
Click “Change Password” and input the following, then click “Change Password”.
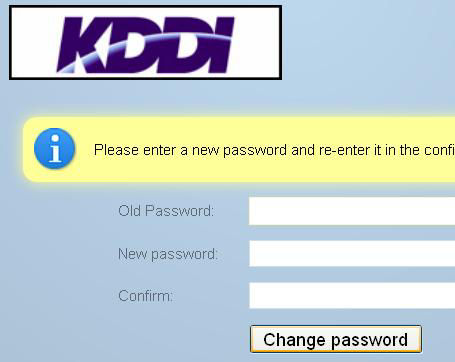
- Old Password: current password
- New Password: new password (min. 6 Character, min. 1 big and 1 small character and min. 1 figure.)
- Confirm: enter new password again to confirm new password
5) Auto-reply message (Away message)
You can leave your auto-reply message (away message) during you holidays or business trip.
Select “Mail”, check the “Send auto-reply message:” box, and write your message in the field below.

* Please do NOT check “Don’t keep a local copy of messages”. Away message is not sent when “Don’t keep a local copy of messages” is checked.
* Auto-reply message to mails from the same address is not sent each time, but in 24 hour periods.
6) Forward Mail
Select “Mail” and enter Email address in “Forward a copy to”. If you don’t want to leave a copy of mail in server, please check “Don’t keep a local copy of messages”.
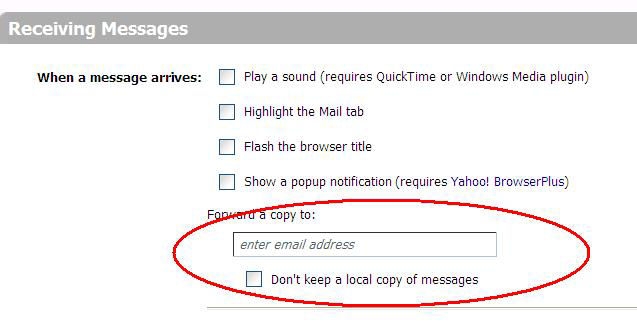
* You can select only one forwarded email address.
* Only if you don’t want to leave copy of mail in server, please check “Don’t keep a local copy of messages”.
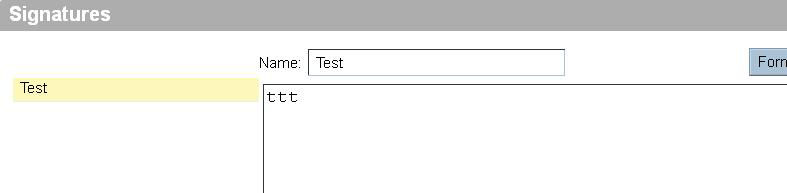
7) Signature
You can attach a signature to your mail.
Select “Signature”, enter a name of signature in “Name” and write your signature in the field below.
To create more than one signature, click “New Signature”.
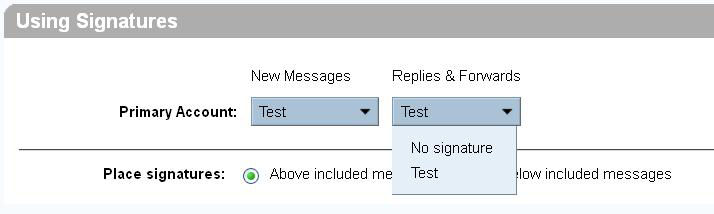
To attach a signature to your mail automatically, select a signature name which you set in “Signature”.
8) Import/ Export Address Book
You can import/ export Address Book from/ to another mailer.
* Import/ Export file must be a CSV file. (Comma Separated Values)
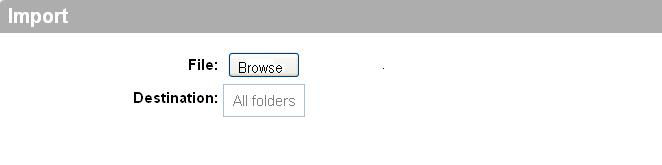
To import Address Book,
Select “Import / Export”, click “Browse” in “Export”, select import file.
Choose the Address Book which you want to import and click “Import”.
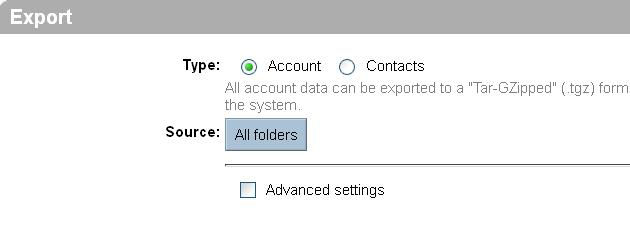
To export Address Book,
Select Folder Type which you want to export and click “Export”.
6. Log off
To logoff, click icon “Log Out” in the upper right corner of the screen.